
Oct 26–312026 Halloween Special OffersExclusive offers on selected products.
FJD TrionFIELD
Menu

AR Stakeout

Bring your design
onto the site.

  • Less manual transcription
  • Clearer field guidance
  • Traceable handover
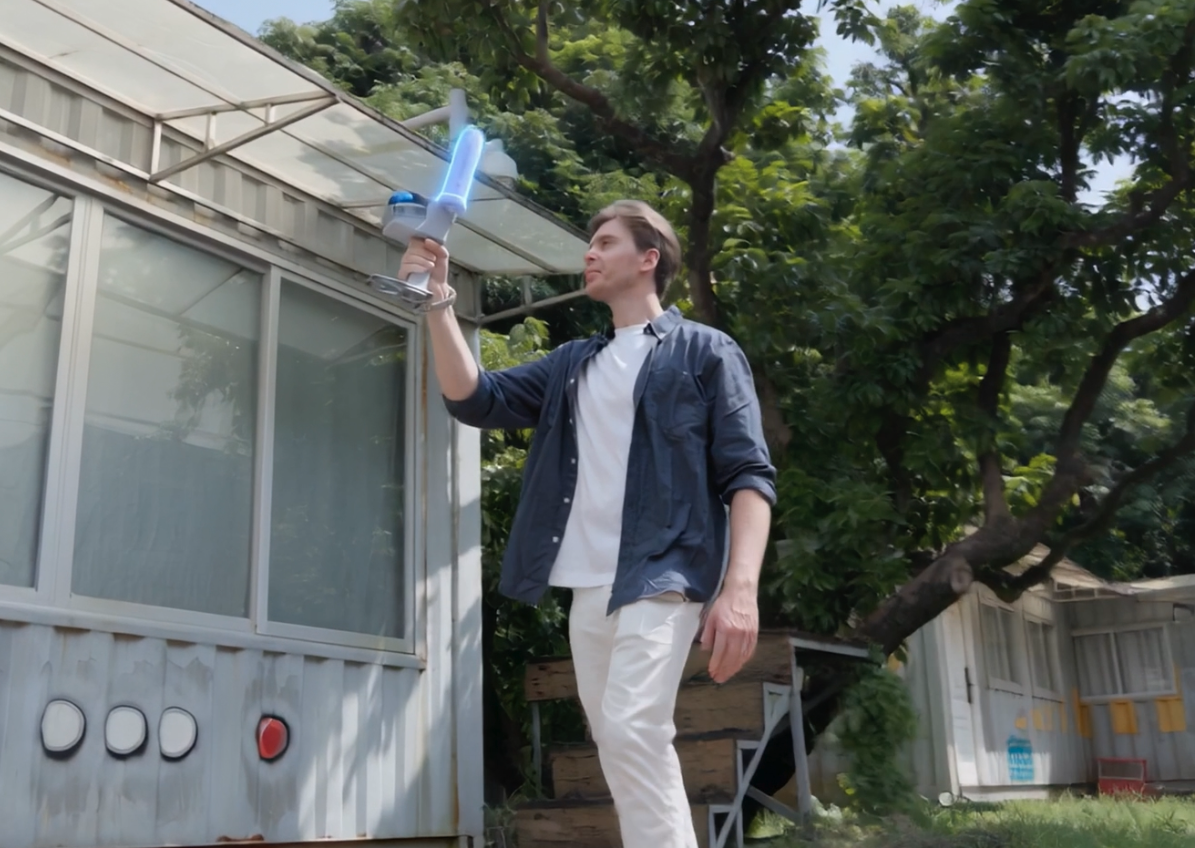
FJD Trion field team carrying out an outdoor survey

Time figures are illustrative estimates, not measured savings. Fixed GNSS accuracy is a horizontal RMS specification, not an AR placement guarantee; site conditions affect results.

Workflow

Follow AR guidance
to set out and verify.

Swipe to explore

Trion Survey official reference · Field project setup

Step 01

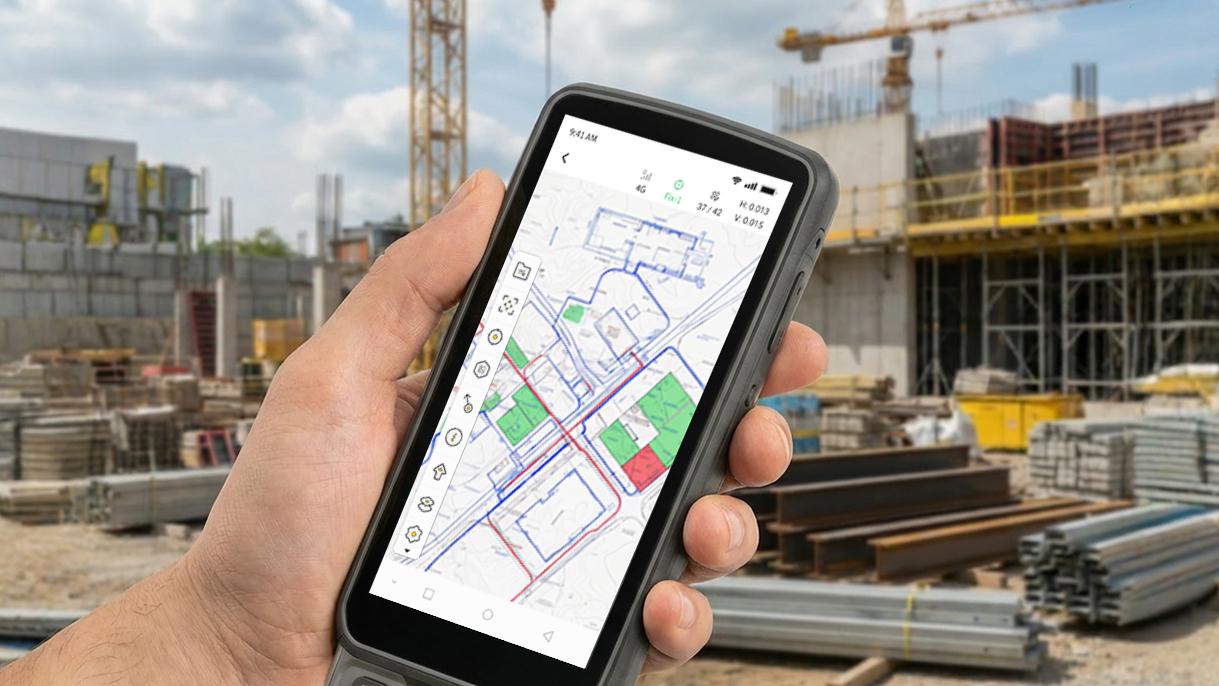
Prepare the Stakeout Points

Import design coordinates or CAD drawings into Trion Survey. Set the correct project and coordinate system.

Why it matters?

Keep field work aligned with the approved design.

Quality checks: Design revision, point list and coordinate system.

Deliverable: A prepared project and imported stakeout points.

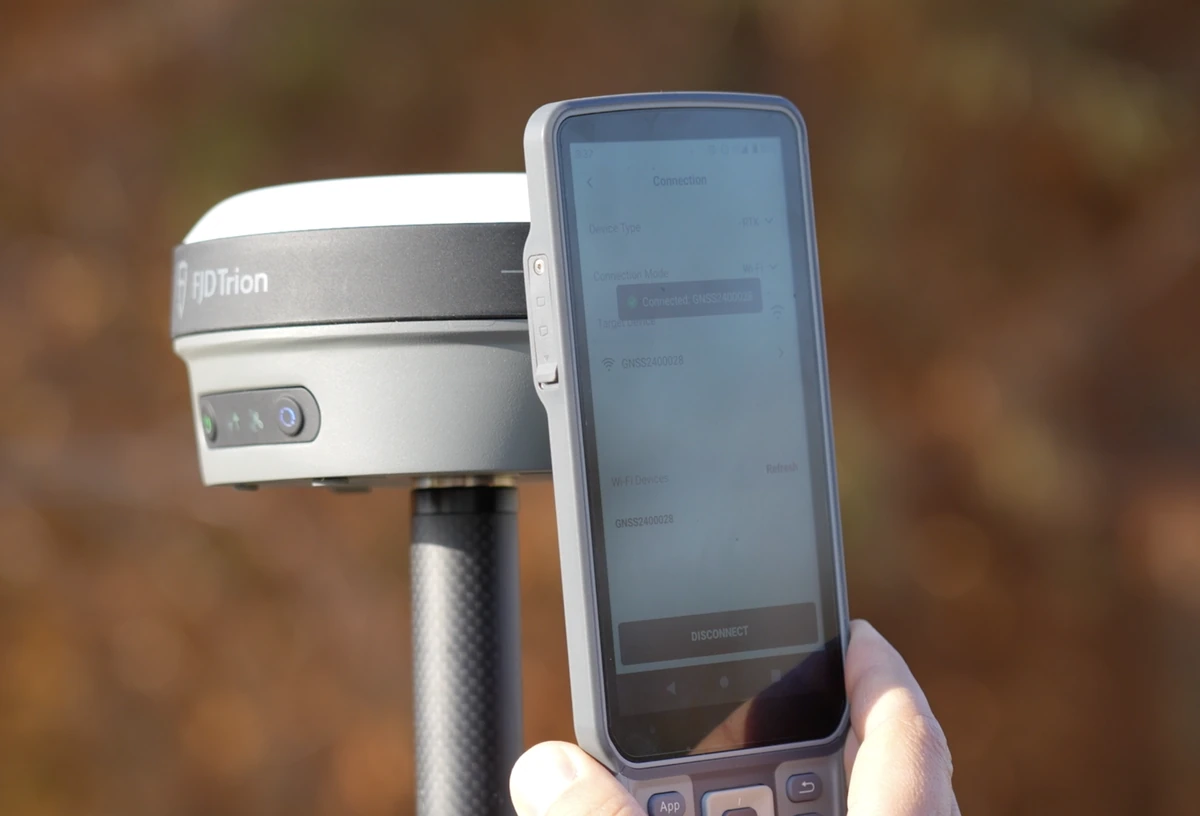
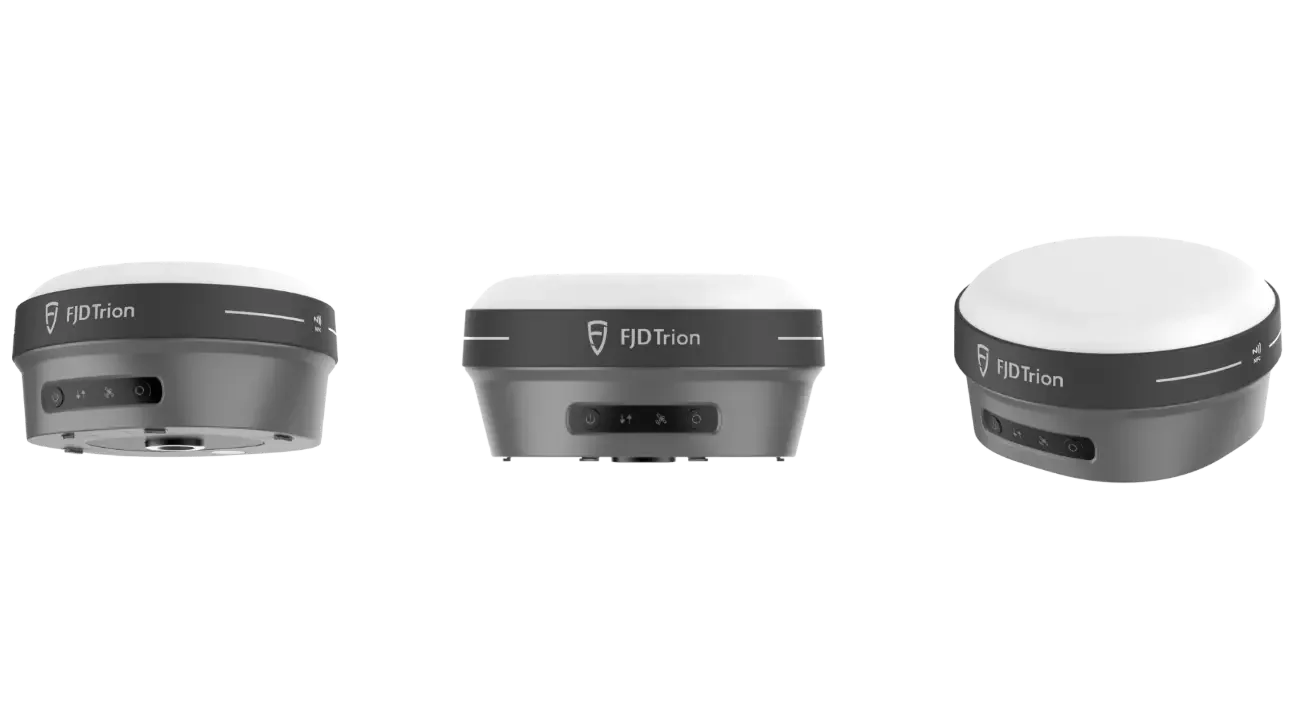
V10a receiver connected to the Trion Survey controller

Step 02

Connect & Set Up

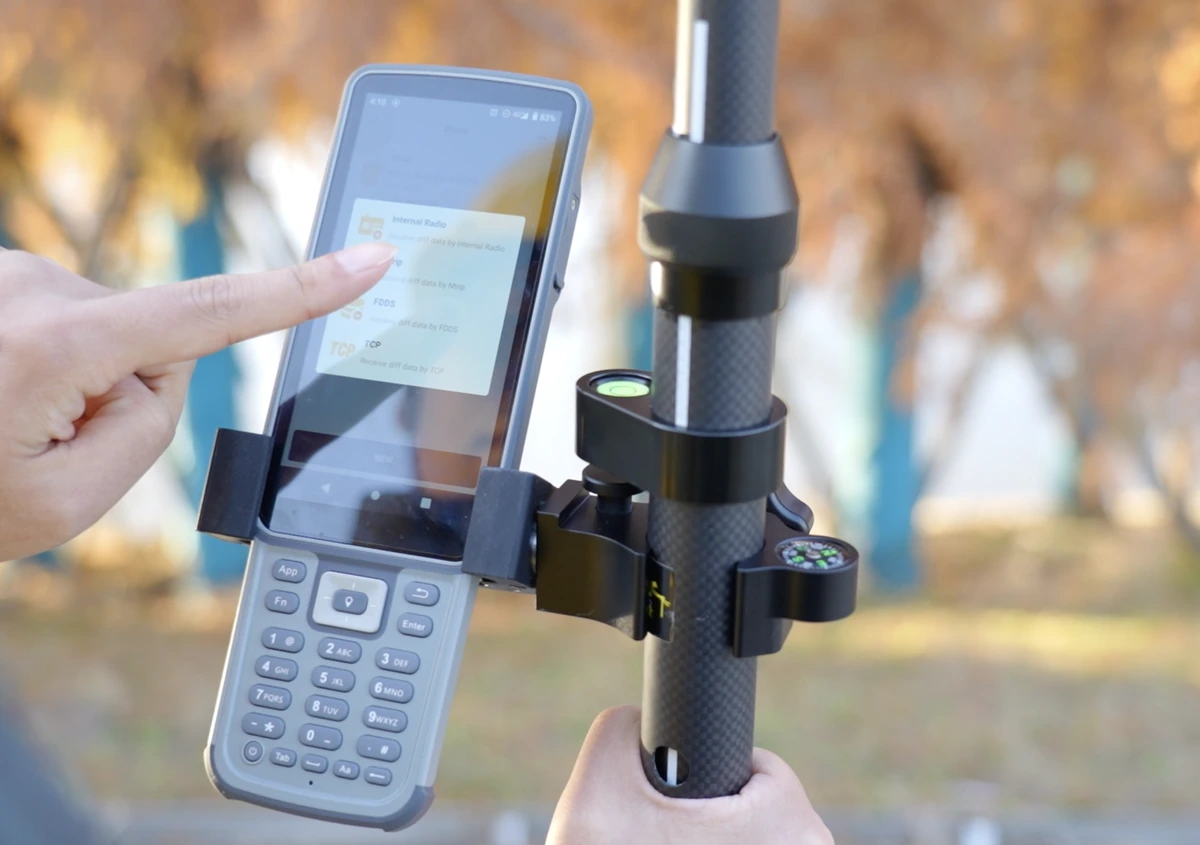
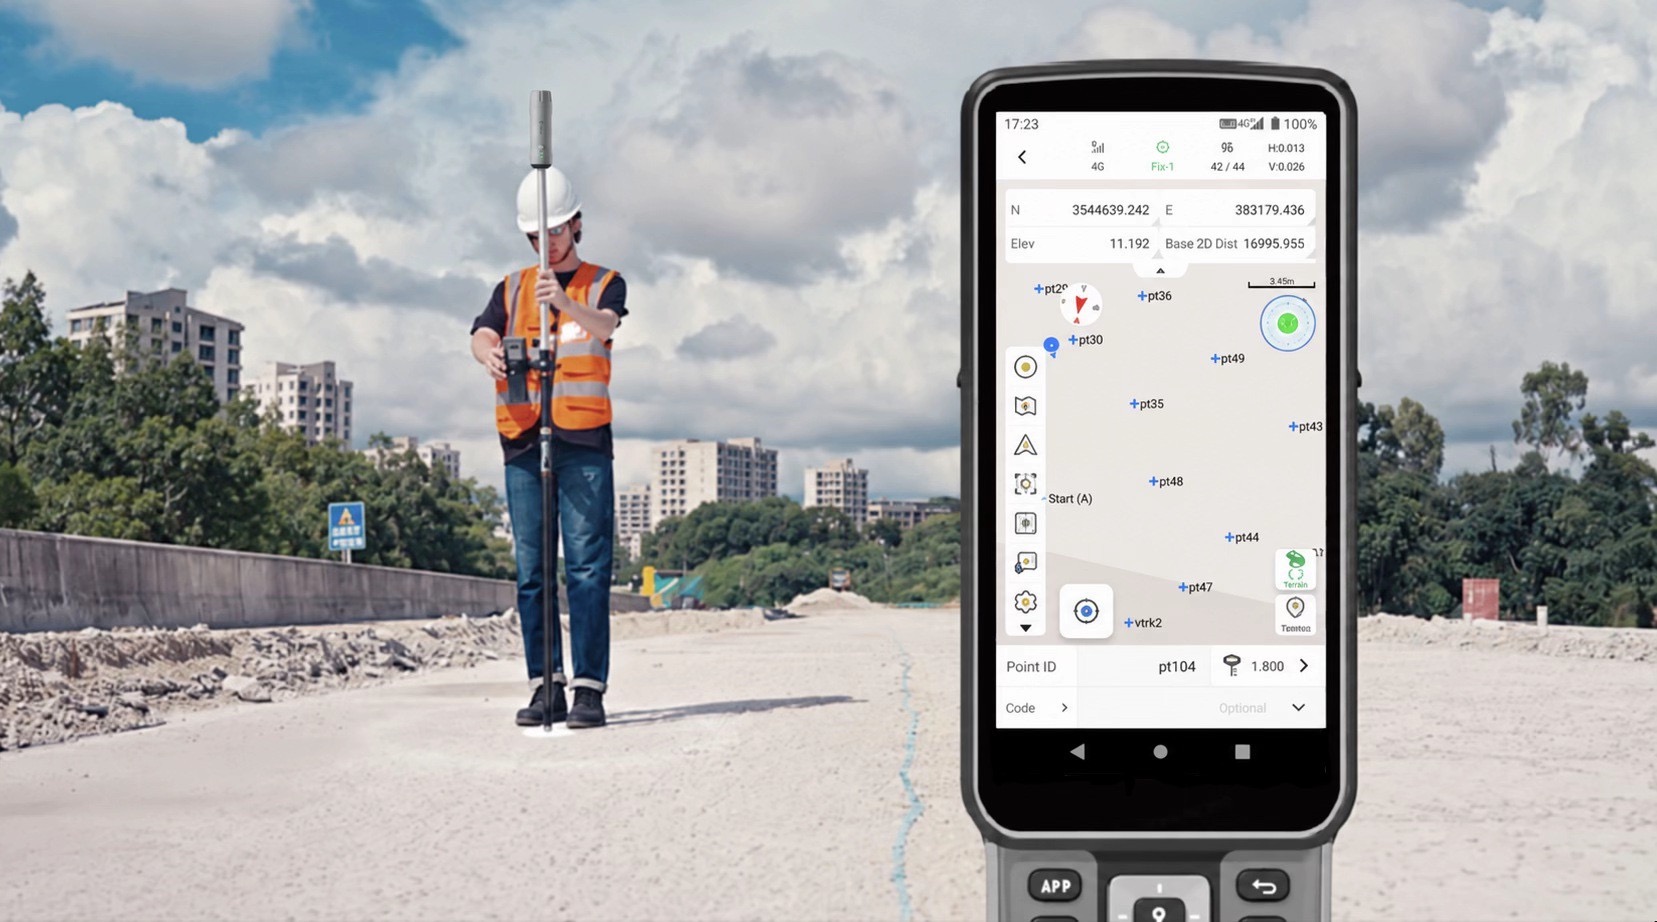
Connect the V10a to Trion Survey. Configure GNSS positioning and confirm a fixed solution before starting.

Why it matters?

Establish the setup before navigating to a target.

Quality checks: Receiver connection, correction source, pole height and fixed GNSS status.

Deliverable: A connected receiver and configured GNSS positioning.

Configuring the V10a positioning setup in Trion Survey

Step 03

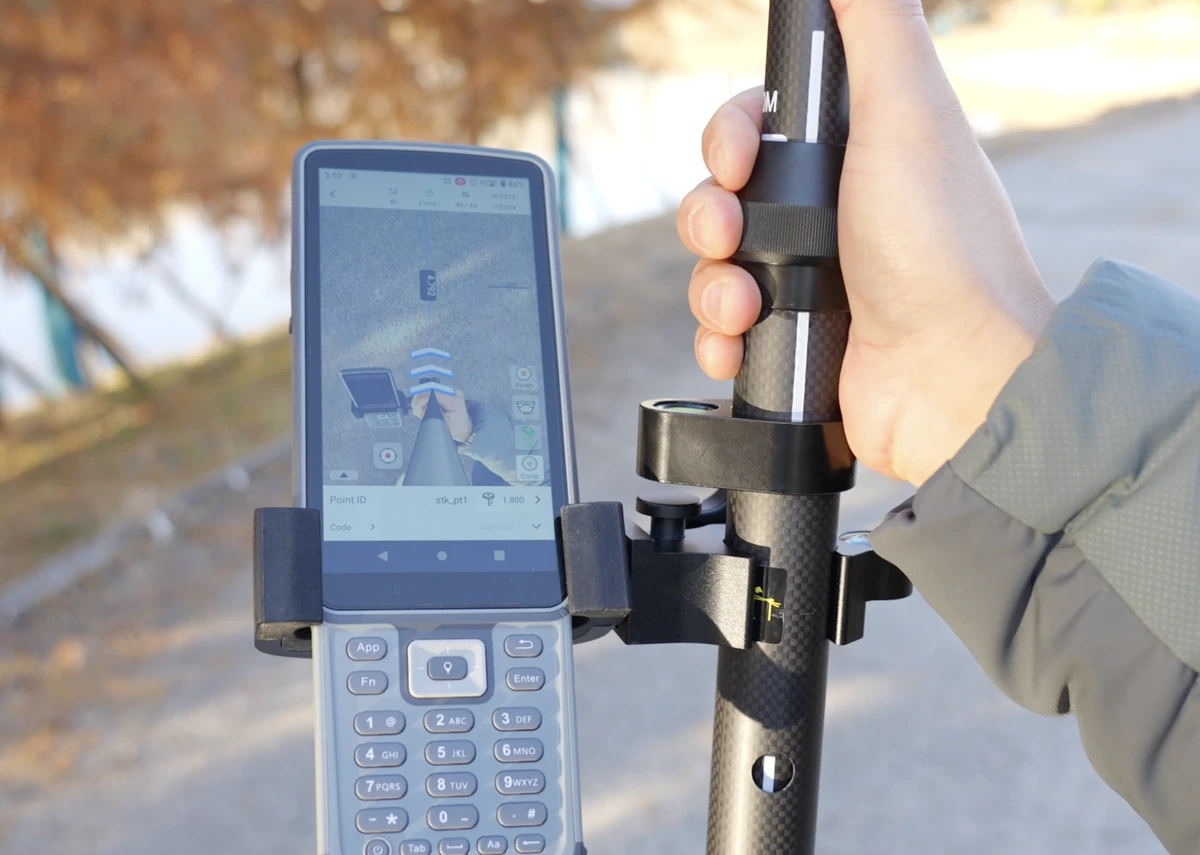
Activate AR Stakeout

Select the target point and switch to AR mode. See the target overlaid on the live camera view.

Why it matters?

Make the target easier to identify on site.

Quality checks: Selected point ID and target in the live camera view.

Deliverable: An active AR view of the selected stakeout point.

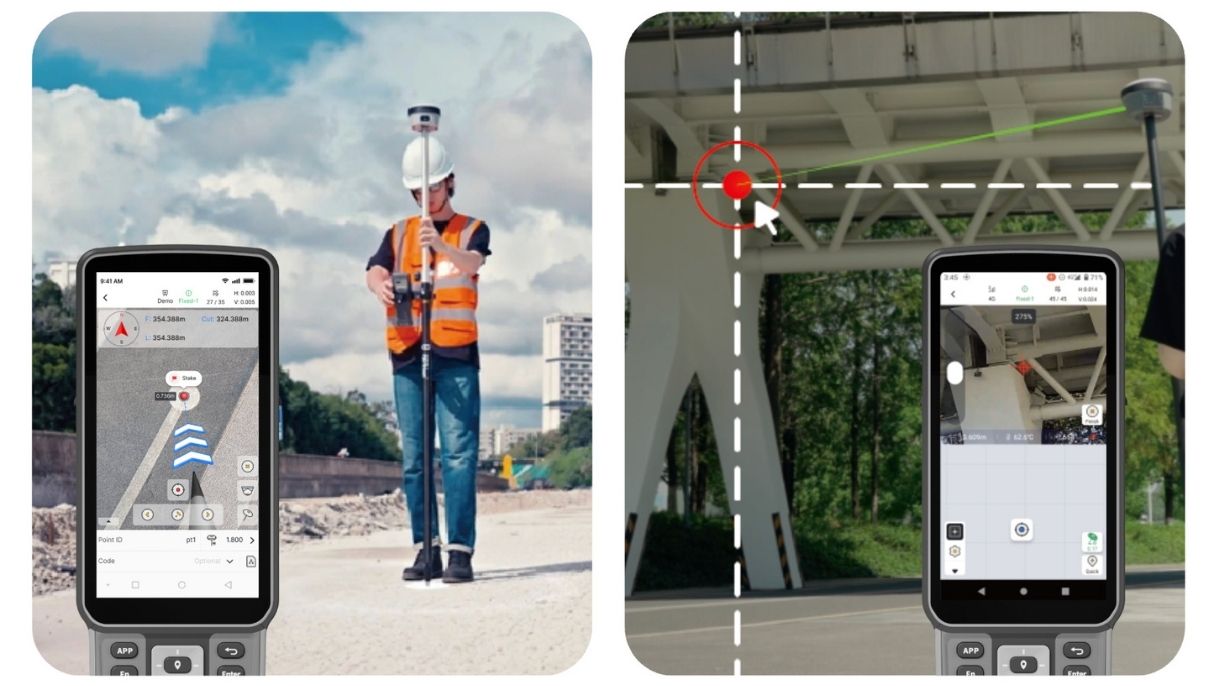
AR stakeout arrows displayed on the field controller

Step 04

Follow the AR Guidance

Follow the on-screen arrows and real-time distance indicators to locate the target point.

Why it matters?

Guide the operator from the current position to the design point.

Quality checks: On-screen direction, remaining distance and positioning status.

Deliverable: The target location reached using AR guidance.

Surveyor positioning the V10a pole at the stakeout point

Step 05

Mark & Verify

Fine-tune the position, check it against the required tolerance, and mark the point on site. Save the as-staked position.

Why it matters?

Keep the field mark traceable to the design and measured position.

Quality checks: Required tolerance, point ID and saved as-staked position.

Deliverable: A marked point and its saved as-staked record.

Deliverables

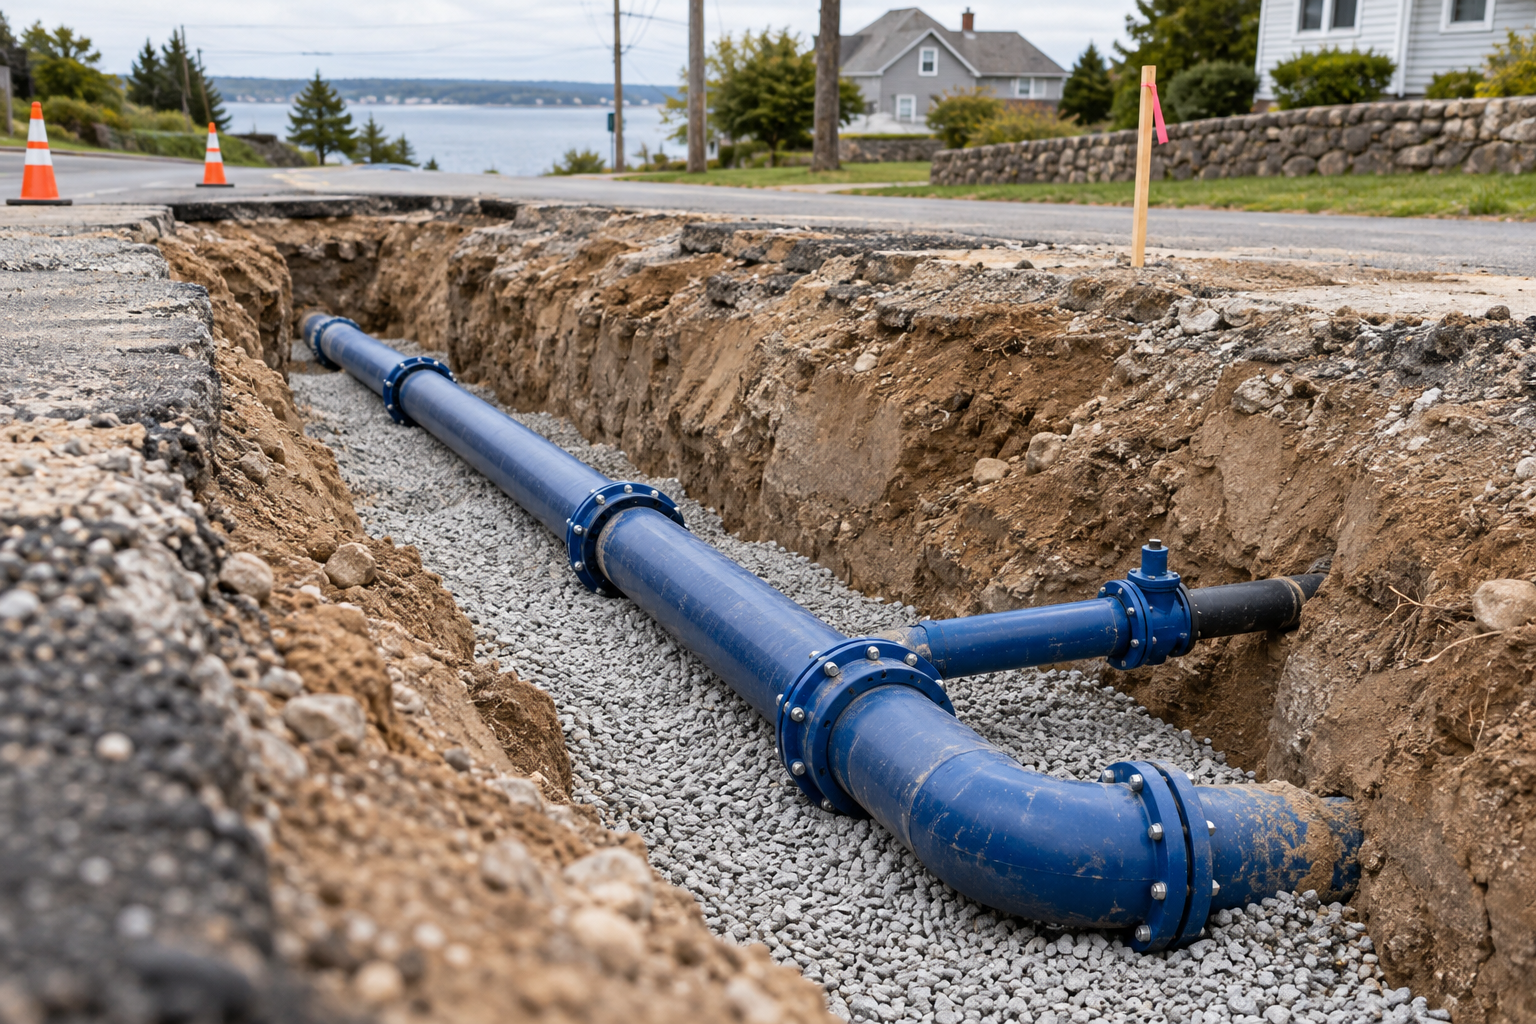
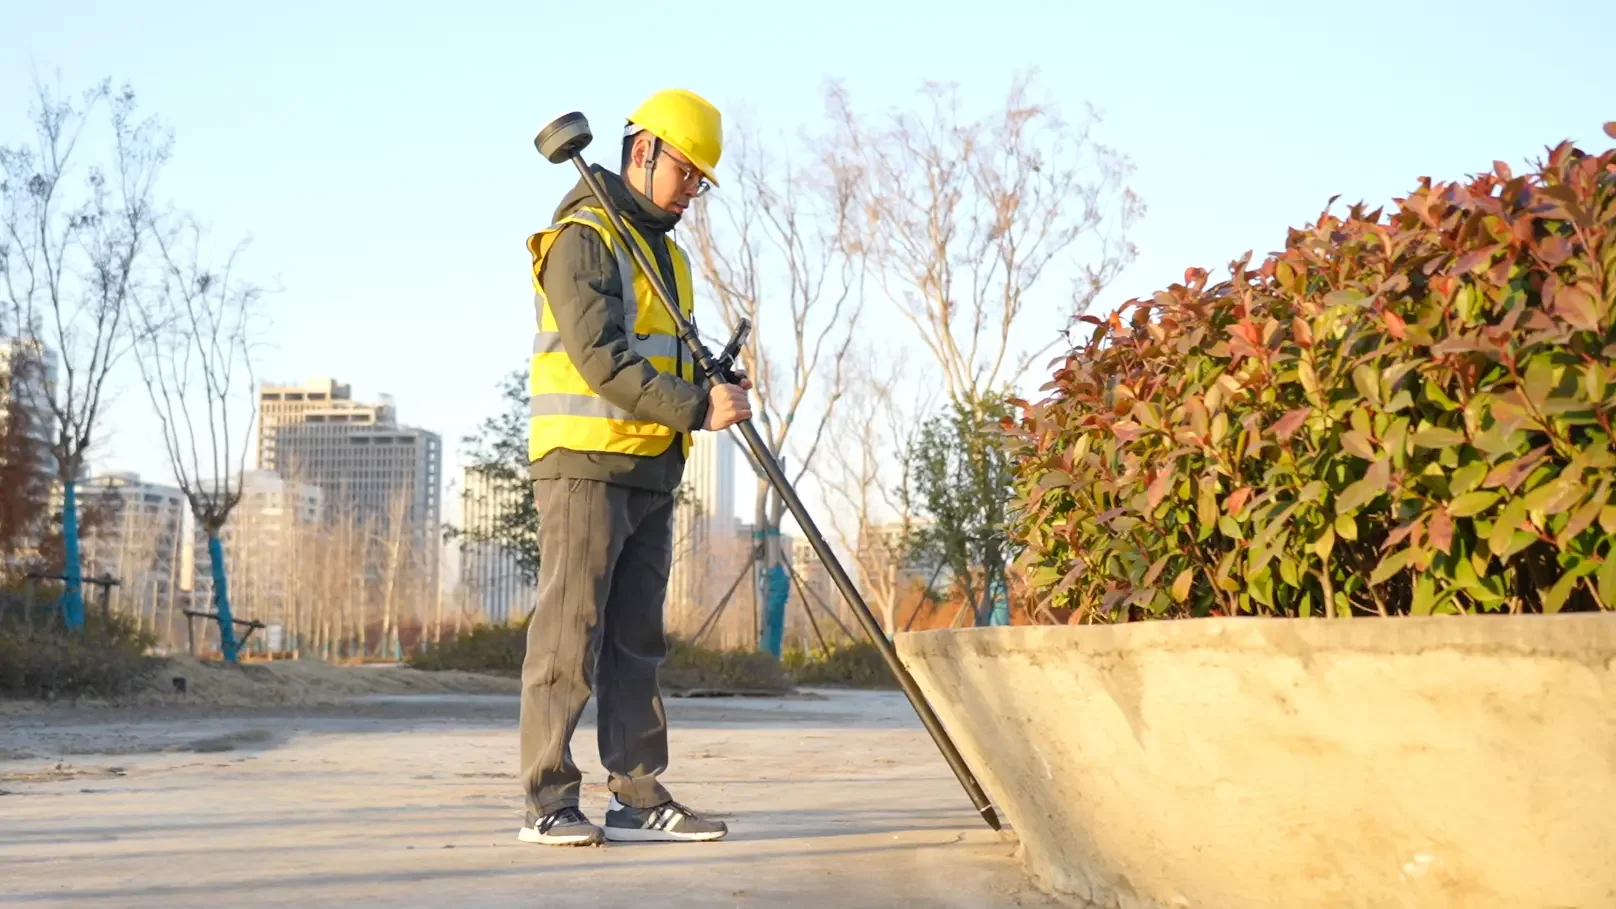
GNSS stakeout with a tilted survey pole beside a planting bed, marking target point STK_P01

Precise stakeout.
Even with a tilted pole.

  • Set out design points with tilt compensation
  • Reach points beside kerbs, planting beds and other obstacles
  • Save as-staked coordinates and deviations for handover

Check the fixed GNSS solution, tilt-compensation status and project tolerance before recording each point.

View V10a in store
ROI calculator

What could your team save?

Estimate labour savings, payback and five-year returns for your project.

Calculate your ROI

Application requirements

Is this the right fit for your site?

What should be checked before work starts?

Drawing revision, coordinate reference, correction source, pole height, positioning status and an independent known point.

Does this replace professional construction surveying?

No. Agree the task and acceptance criteria with the responsible survey professional; routine field checks do not replace contractually required surveying.

Specify the setup for your project.

Choose your equipment, or talk through your project with our team.